
Your cart is empty.
Keep shopping
IOT practice with temperature sensor data
18 students
IOT practice with temperature sensor data
Build an IoT Project with Arduino from scratch
Created byYu Li
Last updated 10/2023
English
English
What you'll learn
- Setup development environment for internet of thing (IoT).
- Transmit temperature data between android breadboard and ESP.
- Transmit temperature data from ESP to RaspberryPi.
- Output temperature value in RaspberryPi.
Explore related topics
Coding Exercises
This course includes our updated coding exercises so you can practice your skills as you learn.
See a demo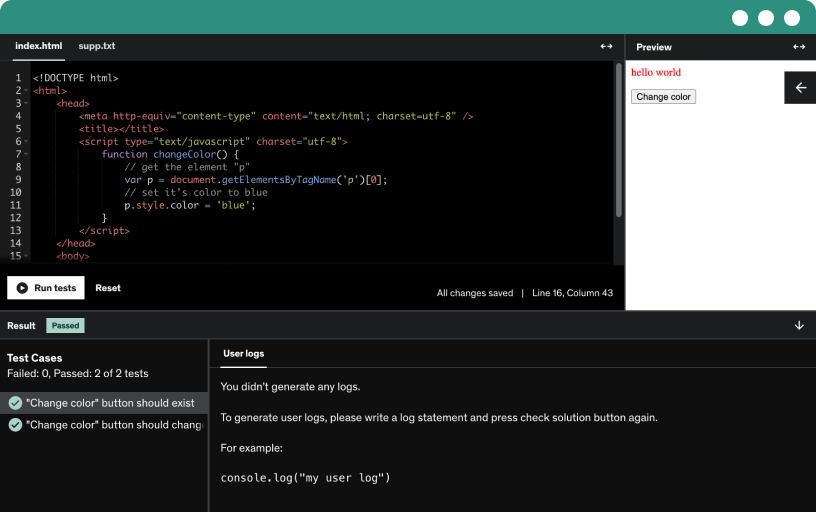
Course content
5 sections • 15 lectures • 1h 21m total length
Requirements
- Eager to know IoT.
Description
IOT practice with temperature sensor data
Reading and visualization of temperature data is a good example to help us understand the world of IoT. It is easy to implement and you can find out more interesting user scenarios anytime if you want.
Since the NodeMCU LoLin supports multiple Wi-Fi modes, we can publish temperature data to a remote server. This means that by the end of this course, you will be able to send temperature data anywhere you want.
Additionally, since the IoT hardware in this course is battery-powered, you can collect temperature data from anywhere. All you need is a Wi-Fi hotspot (or a smartphone).
We can just connect NodeMCU LoLin directly to temperature sensor DHT22, get temperature data from it, and then publish it to a remote Raspberry Pi. But in this course, I just wanna show you how to use an Arduino UNO in between. One reason is that with this solution, you have more free pins. For the future, if you wanna connect more IoT hardware to NodeMCU LoLin, the IoT infrastructure has already been well prepared by this project.
Through this IoT project, you will learn:
Hardware
Connect IoT hardware components so that they can work together.
Power up IoT hardware.
Software
How to get temperature data from a temperature sensor DHT22.
How to forward temperature data from the sensor to Arduino UNO.
How to connect Arduino UNO and NodeMCU LoLin by using Breadboard.
How to forward temperature data from Arduino UNO to NodeMCU LoLin.
How to transmit temperature data from NodeMCU LoLin to remote Raspberry Pi via MQTT Message.
Development Environment
Set up a Development environment using Arduino IDE and Visual Studio Code.
Programming and Upload code from laptop to Arduino Uno and NodeMCU LoLin.
Production Environment
Use Battery supply for IoT Hardware so that you can take your IoT Hardware everywhere.
Who this course is for:
- People who curious about internet of thing and are interesting to get hands dirty for IoT practice