
Your cart is empty.
Keep shoppingBuild a Chip-8 Emulator in JavaScript that runs on a browser
247 students
Build a Chip-8 Emulator in JavaScript that runs on a browser
The ultimate project to have on your Portfolio, dominate an interview having talking about your amazing Chip-8 Emulator
Created byIcaro Lavrador
Last updated 3/2021
English
English [Auto],
What you'll learn
- How a emulator works and how to create one
- How microprocessor works and how to emulate them
- Understand how machines work
- Understand how devices talk wich it other
- How to emulate actual hardware such as memory, display, microprocessor, sound card and keyboard
Explore related topics
Coding Exercises
This course includes our updated coding exercises so you can practice your skills as you learn.
See a demo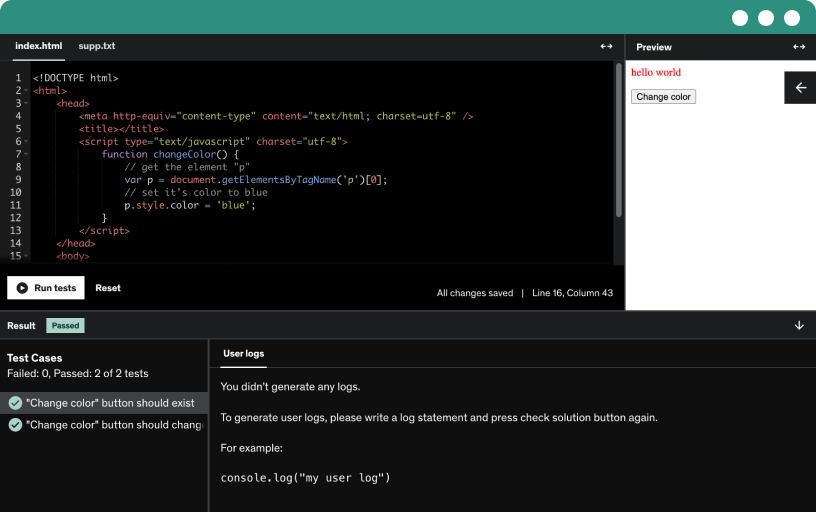
Course content
24 sections • 90 lectures • 6h 48m total length
Requirements
- Medium to advance knowledge in JavaScript
- Some understand about Binary number
- Some understand about Hexadecimal numbers
- Some knowledge in how microprocessor works is an advantage but not required
Description
Did you ever wonder how video games work? What goes inside that little box when you press the power button? How do that tiny silicon chips talk with each other to create the amazing graphics we see on the screen and respond to each press we make on the controllers?
If you want to not only have a complete understanding of how the microprocessor talks to the memory, display, keyboard, and sound card, but also what happens inside with all the registers, so that is the course for you.
In this advanced course, you will learn how to create your very own emulator for the Chip-8 in the JavaScript that runs in any browser, so you can add it to your portfolio page and mesmerize job interviews with all your new knowledge.
The Chip-8 is a virtual machine from the mid-1970s designed to make game development easier. There are a number of classic video games ported to CHIP-8, such as Pong, Space Invaders, Tetris, and Pac-Man. There are also applications like a random maze generator and Conway's Game of Life.
This course is ideal for anyone who has programming experience and always dreamed of creating their own emulator one day, or would love to create an emulator but just does not know where to start. Even someone who has attempted to create an emulator in the past and fail can greatly benefit from this course.
In this course, we will create new classes in JavaScript for each piece of hardware, to emulate the memory, the display, the sound card, and the keyboard, after that, we will jump into the so expect Chip-8, we will first implement its registers and then we will implement each of its 35 opcodes
After you complete this course you will have a fully functioning Chip-8 emulator that is capable to run hundreds of rooms available freely on the internet.
Who this course is for:
- People that want a have an awesome project on they portfolio
- People interest in create an emulator or have always dreamed on create an emulator
- People interested in how hardware works
- People interested in low level details of hardware