
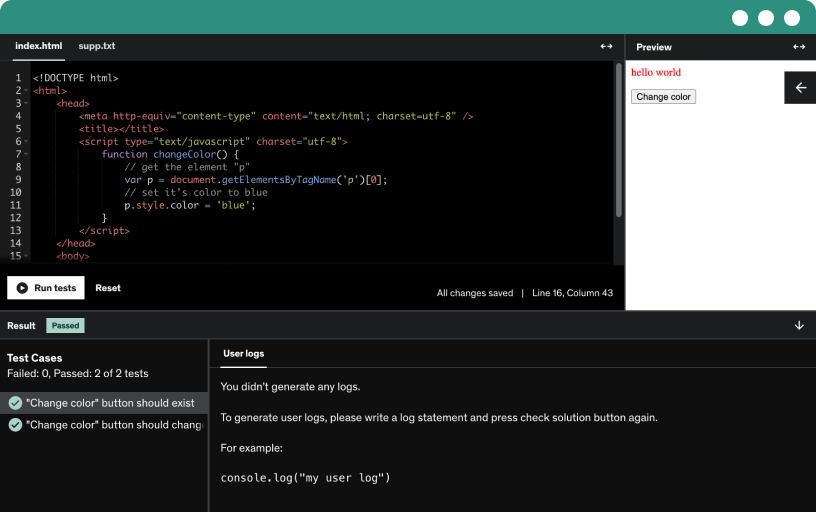
This course includes our updated coding exercises so you can practice your skills as you learn.
See a demo
I'm Adria and I want to thank you for starting the course. In this lesson we are not going to spend much time, but I want to be sure that we start properly.
In this lesson you will learn why we will be building the cross platform application using Electron.
Electron is used by several cross-platform applications in the market and it gives a lot of flexibility.
At the end of this lecture you'll have Node installed on your MacOS machine which is the foundation and a requirement for following the course.
At the end of this lecture you'll have Node installed on your Windows machine which is the foundation and a requirement for following the course.
You are free to use any text editor for programming the electron application, but I've chosen Atom.
Why Atom? Because it's built with Electron. Yes eat your own dog food they say.
At the end of this lesson you'll have Atom installed on MacOS.
You are free to use any text editor for programming the electron application, but I've chosen Atom.
Why Atom? Because it's built with Electron. Yes eat your own dog food they say.
At the end of this lesson you'll have Atom installed on Windows.
This lesson will show you how to properly configure Atom for cross-platform development. This is optional but recommended if you want to have a similar configuration than what is displayed in the course.
Now it's time to install Electron. This is the base of our application. So we will build on top of this.
If you are using Windows, you probably don't have GIT installed (on MacOS it comes preinstalled). So it's time to install GIT on Windows in order to proceed.
This is a required step to continue.
The course is full of resources, but after you download the resources and exercises, you must do something before running the application.
Find what you should do in this lesson.
Starting from zero, we are going to learn the basics of Electron. How to create an application window that displays our content.
Let's spice up things by adding some javascript to our application in order to learn some differences between main and renderer content.
Now that we have built our base application, we can save it as a template. So whenever we want to start a new cross-platform application, we can start based on this one.
The main process is the responsible of managing your whole application. Opens windows and is the connector between them.
In this lesson you'll learn all you need to know about the main process.
The renderer process is the responsible of working with your layout, think of it as the javascript of a website.
This lesson will explain all you need to know regarding the renderer process.
Now that you know what is the main process, it's time to learn how to properly write code in it.
Now that you know what is the renderer process, it's time to learn how to properly write code in it.
It can be a time when you need to communicate between the main process and the renderer process. Doing it properly is crucial and in this lesson you are going to learn how to do it.
There is a tool which will allow us to boost our development speed. I totally recommend using the following tool. It's totally optional but recommended.
In this lesson we are going to install it and set it up.
Having to reload or stop/start our application everytime we make a change can slow us down. But we are lucky as thanks to this method we will allow to see our changes directly while coding.
This lesson will show you how to live reload your application without electron forge.
ONLY do this procedure if for some reason you don't want to include electron forge in your project.
As you can realize, adding third party libraries opens you a complete immense world. Therefore we are not going to spend all the course viewing lectures of third party libraries.
I've collected the basic ones which are usually required in most projects and only use the essentials in our application.
By default, only system fonts can be used in your app. But there is a way to add additional fonts. In this lesson we are going to see the procedure to bundle fonts.
jQuery will allow us to do fast DOM manipulation, which equals to faster development. In this lesson we are going to see how jQuery can benefit us.
Underscore is a great library. This lesson will show you how to add underscore javascript library to your multiplatform application
Thanks to normalize, we can start from a basic state. In this lesson we will add normalize to our application.
Designing your application is crucial in the process of creation. But when you have to think about different operating systems you have also to consider some things for your design.
Discover what to consider in this lesson.
Find in this lesson the design of the Workout timers application that we will design together. Creating the design first is important in order to develop a great application.
It's very important to do a proper setup of your directory structure so you can then later work properly with your application.
In this lesson we are going to cover the basics of a great organization.
From the design we are going to start building the code that will make the layout starting to properly appear.
Time to work on the app menu, it's important that we layout things properly so when the window is being resized, all elements appear properly on the screen and nothing is squashed.
The naming of the module in the next lesson has changed. Please use this new name instead.
Making your users add the data in a proper way is very important.
In this lesson we are going to see how to make our inputs look nice and most importantly, how to make sure the data that the user adds comes into the proper format.
Then later we will see how to validate and tell the user if the data is good or wrong.
It's very important to give the user the ability to change options. In this case we will do it with buttons in the menu of the application, and in this lesson we are going to see how to add them and make them work.
This part is where everything happens within the app, so in this lecture we are going to be building and styling the central part of our workout application.
In this short lesson we are going to see how to add user tips in your app, in this case, following the app design, we are going to add user tips in the bottom bar.
It's important to always validate the user input, as the user can add values which won't work. In this lesson we will see how to validate what the user adds properly.
Now it's time to get serious. We are going to start by creating a TimerController which is going to control how our application timer behaves. This is going to be like the brain of our application.
Continuing with the development of our application, is time now to prepare the TimerController to handle all our timers properly
We are making progress building our application. Now it's time to update the time properly so it displays the right values on each second.
Now that we have updated our timer, we have to make it function properly with the different settings of the app.
Prepare, Work and Rest.
A challenge for you: Try to do the global timer (the timer that counts all the time that has passed) and if you don't manage, continue with the lecture to see the result.
Playing audio files in your desktop applications is something which you will probably do. Either if it's for sound effects or if it's for playing music.
In this lesson we will see how to play sound effects based on our workout application.
It's very important to let the user know what is happening but also without flooding the user with many notifications.
Desktop notifications are hard to handle when you think about multi-platform, but in this lesson you will see how is not really so hard, thanks to Electron.
In this lesson we will see how to properly react on keyboard shortcuts to do things accordingly.
As you may probably seen, once our app is in the background, the timers stop. This is because our app goes into background mode, and MacOS "suspends" the app.
In this lecture we will see how to solve this problem, as well as how to prevent the computer going to sleep.
When developing, we see a very cool application menu. Well this menu will just disappear when we package our application for distribution. This is why it's important to build our custom menu with the options that we want and the ones we really need.
In this lesson we are going to see how to easily know when our app is in development. It's a simple snippet which will help us to know that.
Here is a challenge for you with the corresponding solution.
Will you know how to properly save the application state so when the user restarts the app, all his setting remain there?
Find out more in the lesson.
On the previous lesson, we saw how to use the local storage for saving the application state. Well if you encountered problems while working on it, this lesson will show you how to debug the storage or even clean the values.
Now that we have our app ready, you may want to optimize it. Electron gives us a bunch of tools fine made for developers, which will help us optimize our application before we release it to the market.
Now you can almost start building your own applications. So it's better that you know how to easily debug your javascript renderer code.
In this lesson we will learn how to do so.
Accessibility is important, yes we know it. Thanks to Electron which is based on web technologies, we just need to follow the same approach we would do on the web.
Luckily we have also a tool built in which will help us know if we need to adjust something in our application before we distribute it.
You have probably started with some random name for your project. But when is time to distribute it, you may want to change the name to something more commercial.
In this lesson you will learn how to rename you app easily.
You have to consider that on the underground, your application runs with Electron. Let's see in this lesson which systems are supported by Electron so you know where you can distribute your app.
It's time to create now the package for MacOS. In this lecture we will see how easy is to create our application package almost ready to distribute.
It's time to create now the package for Windows. In this lecture we will see how easy is to create our application package almost ready to distribute.
It's time to create now the package for Linux. In this lecture we will see how easy is to create our application package almost ready to distribute.
Now that the app is built, let's add our application icon so when we package it, it looks more beautiful and matches our brand.
Let's learn how in this lesson.
If you just bundle your application, you might be exposing your source code easily. Don't worry, in this lecture we will see how to protect against that.
When distributing your application, you have to make sure that the application is properly signed or your users won't be able to open it without allowing permissions.
Check in this lesson how to sign the app on Mac.
If you are one of the users who want to upload your Mac application to the Mac App store, in this lesson you'll learn what you need to prepare the file which Apple requires.
When distributing your application, you have to make sure that the application is properly signed or your users won't be able to open it without allowing permissions.
Check in this lesson how to sign the app on Windows.
If you are one of the users who want to upload your Windows application to the Microsoft Windows App store, in this lesson you'll learn what you need to prepare the file which Microsoft requires.
You've finished the course! Congratulations!
Check now what are the next steps for being able to professionally make cross-platform applications.
Create cross-platform desktop applications from scratch and start selling them in the Mac App Store and Windows App Store
Last course update: March 25th 2019
Are you looking to build real-world Desktop cross-platform applications? Maybe you want to create a new side-project Desktop app which can run on Windows, Mac, and Linux to get some extra income or you want to get more clients by being able to publish their app to the three primary operating systems.
Either way, you're in the right place.
I’ve created this course around a single goal: Turning you into a professional Cross-platform developer capable of developing and deploying real-world production desktop applications for Windows, Mac, and Linux.
Multi-platform is becoming more and more popular. Coding an application once and having it run everywhere will allow you to implement new apps for you or your clients quickly.
Cross-platform means creating maintainable apps, not worrying about each operating system needs.
Get better job opportunities by offering cross-platform desktop app development.
This course is entirely project-based. From the very beginning, you'll be hands-on programming from a simple “Hello World” app to a complete from start to finish “Workout Timer” application.
There's no copying-and-pasting here.
This course is about writing code and building projects.
You will be programming a complete Workout Timer cross-platform application ready to submit to the Mac App Store and Microsoft Windows App Store.
During all the chapters you'll learn:
Why using Electron
Setting up all the environment
Creating your first application
Electron API
Using third party libraries
Custom fonts
Building a complete application (you will create a Workout Timer application from 0 to complete)
Multi-platform app menus
Playing audio
Multi-platform Desktop notifications
Keyboard shortcuts
Managing application state
Application debugging
Storing user data
Cross platform accessibility
Application building on Windows
Application building on Mac
Application building on Linux
Windows app signing
Mac app signing
Microsoft App Store distribution
Mac App Store distribution
And much more!
Up-to-date. In-depth.
I guarantee this is the most up-to-date and engaging Cross-platform course available, and it comes with a 30-day money-back guarantee.
While other tutorials or course might teach you individual parts, this course will show you how to go from 0 to selling your cross-platform application without copy-pasting code but coding everything by yourself.
Access to fast support and a community of like-minded students.
I offer quick and friendly support. You won't have to sit around hoping someone will actually reply. I answer every single question that students post in a timely manner.
Don't take my word for it. It's one of the things students like Filip and Nicole love most about my courses.
"I'd like to thank Adria for this course, he is not just a great teacher, but also he's quick to answer questions and provide feedback even for my code which wasn’t related to the course." - Filip Hudcovic
"Adria is amazing. Very straightforward. Seems to be the stuff I want to learn. And he answered all muy questions and helped me building my project." - Nicole Maron
"The course is high oriented to practice. Lot of tips and tricks very helpful to obtain an immediate profit and the instructor helped me with all my questions" - Brennan Matthew
This course will not remain this price forever! It's time to take action!
Click the "Buy Now" button, top right, now. Every hour you delay is costing you money as cross platform will give you more time for development.
See you in the course!
Sincerely,
Adria