
Your cart is empty.
Keep shoppingBuild a Complete GPS Tracking Application step by step 2025
Highest Rated
2,543 students
Build a Complete GPS Tracking Application step by step 2025
Utilize the Full Power of HTML, CSS, JavaScript and C++ for Developing a Personalized ESP32 GPS Dashboard | No 3rd Party
Created byStepwise Learning ., Technical Support Team
Last updated 11/2025
English
What you'll learn
- Delve into the critical role of a custom web dashboard for efficient GPS data tracking, laying the project foundation.
- Address integral hardware and software requirements, ensuring a well-prepared mission.
- Gain a profound understanding of GPS and its principles for effective module implementation.
- Shift focus to practical GPS module setup and testing in the Windows Environment.
- Explore ESP32 board integration with Arduino IDE, mastering functionality and validating performance.
- Introduce the OLED Display module, unraveling its inner workings for visual data representation.
- Integrate Firebase as a real-time database and Mapbox for map visualization to complete the core workflow.
- Test all hardware modules and proceed to assemble them into one circuit.
- Craft backend C++ code for transmitting GPS data to Firebase and displaying on the OLED for user experience.
- Explore frontend development, bringing the interface to life using Python, HTML, CSS, Bootstrap, and Javascript.
- Learn about PythonAnywhere, a Python-based web hosting provider.
- Deploy the complete project on the server for global browser access.
- Address Firebase's payment limitation by developing an App Script code for GPS data storage in Google Sheets.
- Witness real-time project output, observing live data acquisition, web dashboard display, and Google Sheets insertion.
Explore related topics
Coding Exercises
This course includes our updated coding exercises so you can practice your skills as you learn.
See a demo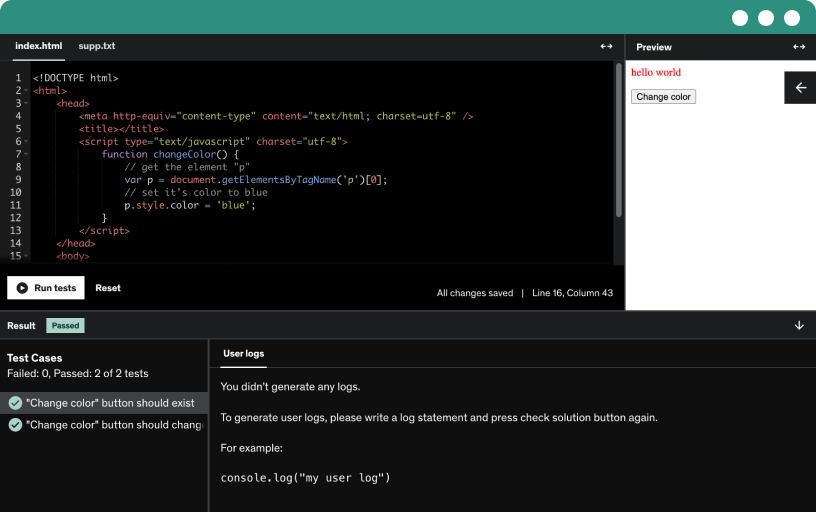
Course content
10 sections • 56 lectures • 3h 40m total length
Requirements
- Basic programming knowledge is recommended for this course to ensure a smooth learning experience.
- Ensure that you have a laptop or desktop equipped with reliable internet connectivity.
Description
Imagine having the power to track the real-time location of your lost vehicle or even a person, right from your own custom-made web dashboard. Not only will you see the exact position on a live map, but you’ll also know the distance and direction from your current location — all with a beautiful interface that you built yourself.
This course teaches you exactly that.
What you will learn to build --> a smart, fully functional GPS tracking system.
What Makes This Course Truly Different?
Most IoT courses depend heavily on 3rd-party dashboards. You only write a few lines of code to extract GPS data, send it to the ready-made dashboard… and that’s it.
No real learning. No real development. No real ownership.
But this course is a complete full-stack experience.
You won’t just plug data into someone else’s platform — you will build everything yourself:
The backend using C++ and ESP32,
The real-time database setup,
AND a fully interactive frontend using HTML, CSS, JavaScript, Bootstrap, Python, and Flask.
By the end, you won’t just understand how GPS tracking works — you’ll have built your own professional tracking system from scratch.
Four Reasons Why You Should Take This Course
1. Build Your Own Custom Dashboard
No limitations. No templates.
You decide the layout, the features, and the user experience. Your dashboard will be 100% unique and customizable.
2. No Limits, No Restrictions
Forget trial accounts and feature-locked IoT dashboards.
Your system won’t depend on someone else’s platform — YOU control your data, your display, and your project.
3. Full-Stack Developer Experience
From hardware connectivity to real-time databases to web development, you’ll gain hands-on, job-ready skills that employers actually look for.
This is a perfect project to showcase in your resume.
4. Build Client-Ready Products
Want to offer tracking solutions to clients?
With this course, you’ll have everything you need to create customized dashboards and sell fully functional GPS-tracking applications.
How the Course is Structured
The entire course is divided into 9 beginner-friendly sections, guiding you from basic concepts to a complete deployed application.
Section 1 – Understanding the Project
You’ll learn:
What this project is about
All hardware & software requirements
Why each module is important
The science behind GPS and how it works
Section 2 – GPS Module Setup & Testing
You’ll assemble the GPS module, connect it as per the circuit diagram, and test it on Windows to ensure it’s working perfectly.
If it’s faulty, you’ll know immediately.
Section 3 – Testing the ESP32 Board
Here, we:
Install Arduino IDE
Add ESP32 board manager
Write and upload code to test ESP32 functionality
You’ll confirm that your ESP32 is ready for the project.
Section 4 – OLED Display Setup
You’ll learn how the OLED display works, connect it to the ESP32, and write code to display messages.
This ensures your display module is functioning correctly.
Section 5 – Firebase & Mapbox Setup
You’ll learn:
Why Firebase is crucial
How to create and configure your realtime database
How Mapbox works
How to create your Mapbox account and generate API keys
Section 6 – Building the Backend
This is where the magic begins.
You will:
Connect all hardware modules
Write C++ code to extract GPS data
Send data to Firebase in real time
Display selected information on the OLED module
Section 7 – Building the Frontend
You will develop a modern, interactive dashboard using:
Python (Flask)
HTML
CSS
JavaScript
Bootstrap
You’ll learn how to run a web server, render HTML templates, and manipulate elements to create a professional-looking interface.
Section 8 – Deploying the Project Online
You’ll make your dashboard accessible from anywhere by using a free Python-based hosting platform.
Then you will write a Google Apps Script to automatically store real-time Firebase data in Google Sheets, creating a permanent data log — absolutely free.
Section 9 – Live Demonstration
In the final section, you’ll see the entire system in action:
ESP32 sending real-time data
Firebase updating instantly
The dashboard displaying location, distance, and direction
Google Sheets receiving live entries every minute
Finally, we wrap up everything in a clean, easy-to-understand summary.
What You’ll Get
Complete source code
Real-world development experience
English subtitles for every lecture
Step-by-step explanations
A full-stack project you’ll be proud to showcase
A dashboard that YOU built, not copied
Whether you're a beginner or someone who has never built a web project before — you’re in the right place.
I’ll guide you through everything, step by step.
Technical Support
Never feel stuck.
If you have any doubts, simply post your question in the Q&A section, and our support team will respond within 24 hours, Monday to Saturday.
We’re here to help you complete this project successfully.
Refund Policy
Your satisfaction is guaranteed.
If you feel this course isn’t right for you, you are protected by a 30-day, no-questions-asked money-back guarantee.
Learn with complete confidence and zero risk.
Final Words
You have absolutely nothing to lose and an incredible skillset to gain.
This course will unlock new career opportunities, deepen your technical knowledge, and give you the power to build practical, real-world applications.
Take charge of your future.
Invest in yourself.
Enroll now and start building your own real-time GPS tracking dashboard today!
Who this course is for:
- This course has been specifically designed with beginners in mind, making it accessible to individuals with basic knowledge of computer science.
- Whether you are just starting out or have a foundational understanding of the subject, you can confidently enroll in this course.
- Our curriculum takes into consideration the needs of learners at various skill levels, providing clear explanations and step-by-step guidance to ensure a smooth learning experience for everyone.
- Don't hesitate to join, as this course is tailored to support your learning journey from the ground up.
- If you're eager to undertake exciting projects with your ESP32, then this project is just right for you.
- This course is perfect for individuals aspiring to construct a comprehensive full-stack project right from the ground up.