

Your cart is empty.
Keep shoppingLearn Arduino Fast A complete Beginner's Guide
639 students
Learn Arduino Fast A complete Beginner's Guide
Arduino programming and prototyping (Simple, Easy and BEST ways to do it..)
Created byUsman Khalid
Last updated 5/2023
English
English [Auto],
What you'll learn
- After this course you'll be able to turn your DIY ideas into a reality.
- I'll teach you basics of arduino programming and prototyping techniques
- Along with very basic electronics.
- Pdf manual included with basic code.
Explore related topics
Coding Exercises
This course includes our updated coding exercises so you can practice your skills as you learn.
See a demo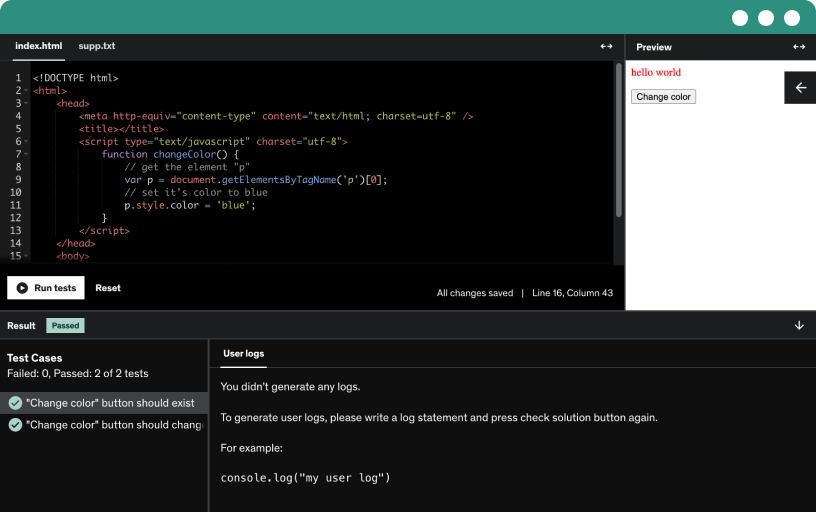
Course content
3 sections • 20 lectures • 1h 53m total length
Requirements
- Be able to read and write :) and that's it. Arduino is like super easy so in my opinion a 7th grader can do it so you don't need to worry about Computer science degree or any other Engineering degree to learn arduino prototyping board.
Description
Welcome to Charcoal's Arduino programming and prototyping (Simple, Easy and BEST ways to do it..), where you will extend your knowledge of Arduino components and techniques and build up new skills in the largest, and the most comprehensive course on the Web!
Arduino is the world's favorite electronics learning and prototyping platform. Millions of people from around the world use it to learn electronics, engineering, programming, and create amazing things, from Autopilots for drones to tree climbing robots remotely controlled lawnmowers, IOT products (Controlling your House hold appliances from all over the world) and many more.
It is a gateway to a career in engineering, a tool for Science, Technology, Engineering, and Mathematics education, a vehicle for artistic and creative expression.
What's in this course ?
Easy for those who are new to Arduino.
Complete course on Arduino (programming + electronics).
Hands-on learning and experiments
New content added.
Created by an electrical engineer.
Pdf attached with sample projects.
Easiest methods to learn Arduino coding and programming.
It’ll help you understand coding in most easiest and cool way possible.
I hope in the end of this tutorial series you'll be able to do most sophisticated DIY projects completely on your own.
Best Regards
Team Charcoal
Who this course is for:
- Everyone who is motivated and passionate about Engineering, Who is creative and want to do something new, Want to create something new. After this course you'll be able to do very cool DIY projects on your own. This course is not for Extremely Expert programmers.